

 Miss Bella was celebrating her 8th birthday and she asked me to make her cake. I sat down with her and asked her what her favorite colors, hobbies & elements were. First thing she said was her favorite color was “black” I gave her a look of
I started by making the cake topper earlier in the week. I wanted to create something that she would be able to keep afterwards. I came up with the cutest creation! Butterflies & stars incorporated. Note the glitter must be a non-toxic glitter when messing with any food-product.
Top layer of the cake is a dummy cake. I wanted her cake to be big and extravagant but without the abundance of leftover cake. Covered the Styrofoam dummy cake with fondant. I created the sugar transfer sheet in Photoshop and had my local Nob Hill Store Bakery print it out for me, which was placed around the fondant. Two sheets were used and it didn’t quite fit the circumference of the cake. I had a gap on each side which didn’t please me. I must conquer that issue……a future task of mine to defeat!


The circles on the first layer are a mixture of 50/50 fondant/gumpaste and the purple is sprinkled with luster dust and the blue is airbrushed blue then sprinkled with iridescent edible glitter. Did this a couple of days ahead of time and placed in an airtight container until ready for use.
Bottom layer is four layers of Oreo Cookie Cake with Oreo Cookie Frosting. Didn’t put fondant along the bottom layer because I wanted to perfect my buttercream application. Came out pretty darn cute and it was soooooooooo good! Probably one of my favorite cake recipes to date.
Recipe for cake: Oreo Cookie Cake & Frosting Recipe.


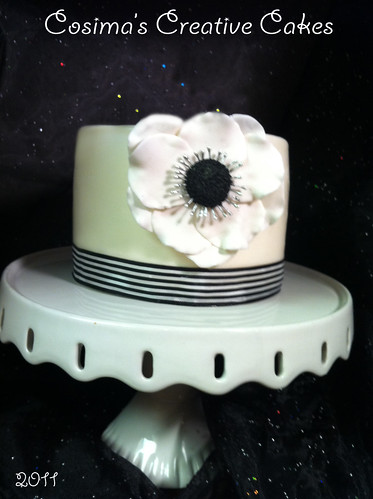

")


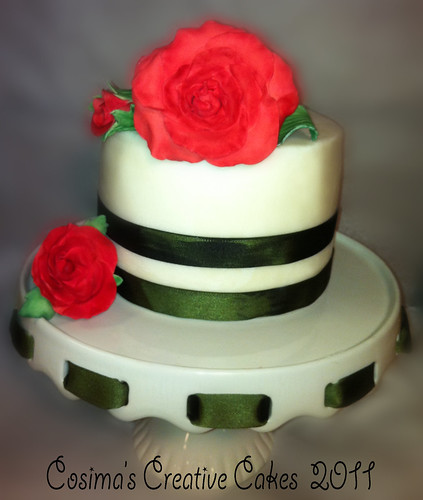
 copy")


")


")
")

")


